In the current digital era, all of us are using our computers or laptops for all pedagogy, pastime, and official purposes. Sometimes you may want to save the display content as a media file for feature viewing. In such cases, a screen recording utility may help you. We also need the recording feature to record our tutorials or classroom sessions for future reference.
If you want to record a video or an online meeting on your PC or laptop, you can use the system utility available with your operating system or a dedicated screen recorder for Windows 11. To give comprehensive assistance on this concern, we have briefed you about the tweaks that can help you. The best screen recorder for screen recording can help you create creative videos according to your requirements.
How to Record Your Windows 11 Screen Manually
The screen recorder for Windows 11 can help you in recording your screen. Let us comprehend how to do it.
Using Windows 11 Xbox Game Bar
The Game Bar is an ultimate game utility that you can use for distinguished gameplay. The utility may also support you in recording your screen activities. Here is how you can do it!
Step 1: Use Windows and G key combination to launch the Game Bar utility.
Step 2: Access the camera option located on the app console.
Step 3: A capture window will be opened now and everything inside the Window will be recorded. Select the screen area to record.
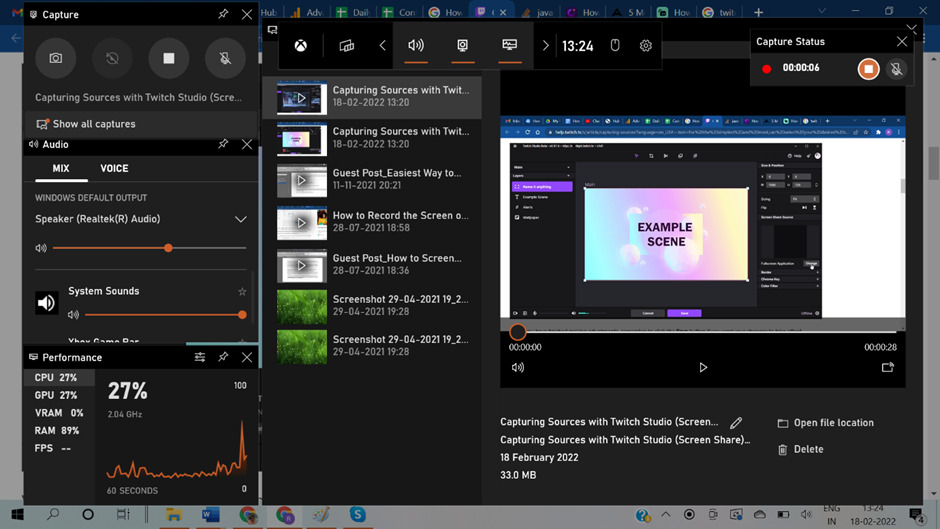
Step 4: Enable the Mic option to record the audio along with the video.
Step 5: Once you configure all the settings, you can start the recording by pressing the Record key.
Step 6: You can halt the recording after the necessary time using the Stop button available.
Note: You can use the “Show all Captures” preference to view the recorded file.
Screen Record Using Microsoft PowerPoint
Your prevailing productivity tool Microsoft PowerPoint can support you in recording your screen activities. Tune-ups for executing this are worth researching and are as explained below.
Step 1: Access the Office PowerPoint app and choose the insert tab.
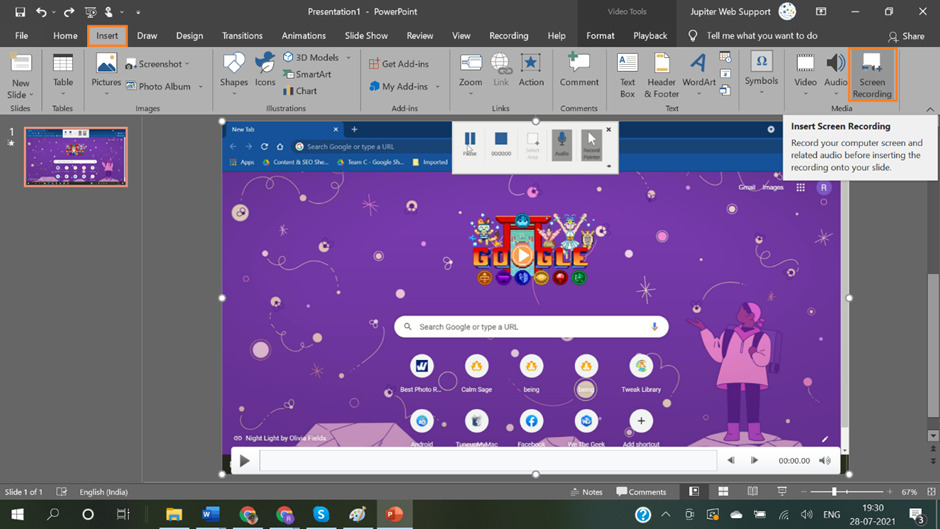
Step 2: Navigate to choose the Screen Recording option from the Media section.
Step 3: Now, you can select the screen area you want to record.
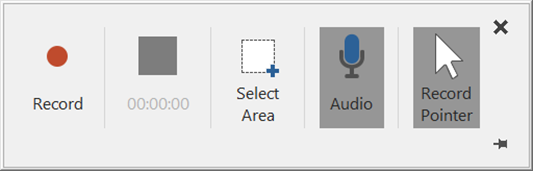
Step 4: The app will now record the motions of the mouse pointer as well as audio.
Note: You can disable the audio of your screen recording task. You may use the key available in the dock to disable it.

Step 5: Now select the record option to initiate recording. You can use the Windows, Shift, and R key combinations for commencing the recording.
Using TweakShot Screen Recorder
The manual methods for recording your screen are effective to some extent. However, you can use a dedicated gadget for advanced and superior screen recording options. We have tons of screen recording tools available for us to choose from. It is hard to decide which of them is best. To make the process easier, TweakShot Screen Recorder is the best choice.
TweakShot Screen Recorder tool is a one-stop solution for capturing and recording your screen activity. You can use this tool for recording all your screen activities with high-quality video content. The best screen recorder also enables us to add audio to the recorded video with the aid of a microphone.
TweakShot allows you to add, edit, or remove watermarks on any of the video content. You can try out different filters and tools to customize videos according as per your needs. The video editor tool gives you multiple editing features and options to personalize your videos.
TweakShot Screen Recorder Features
- Capability to create high-quality HD video outputs
- Have excellent ability to record webcam inputs and system sounds
- Capable of capturing all screen activities, streaming videos, and webinars
- Can capture screen with a variety of orientation and recording modes
- Functional with all the latest versions of Windows OS
- Apt for splitting your recorded video files
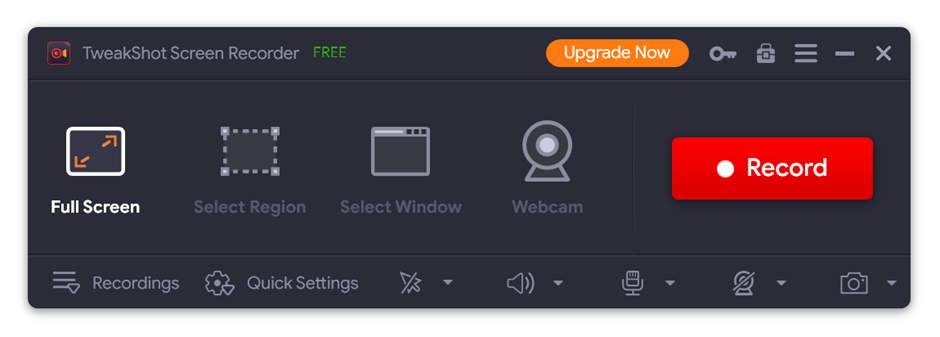
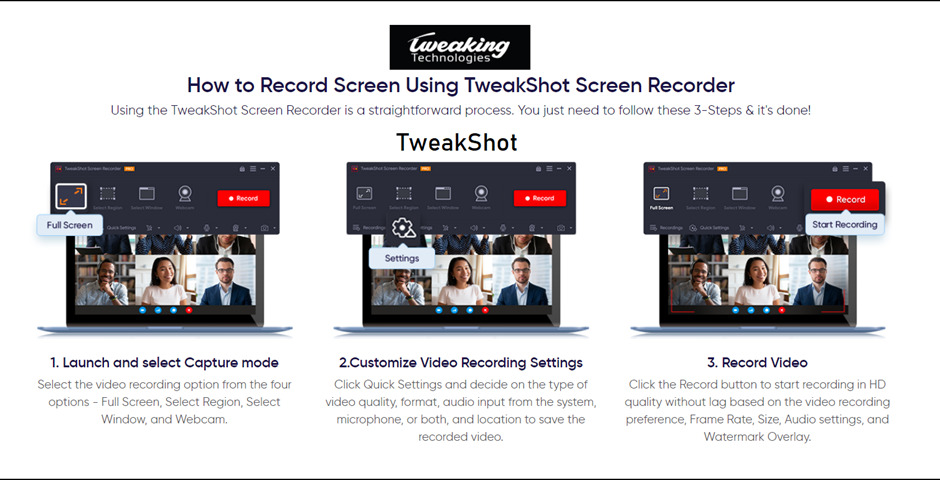
How to Use TweakShot Screen Recorder
You can record the screen actions of your webcam as a quality video. The TweakShot Screen Recorder may support you in this regard.
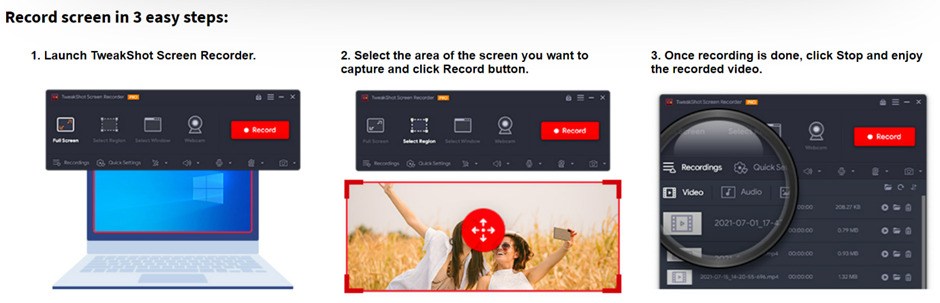
Step 1: Open the TweakShot Screen Recorder app.
Step 2: Choose the Webcam icon in the app interface.
Step 3: You can choose between different recording modes.
Step 4: configure the recording settings and click on the Record button to initiate Recording.
Note: You can customize the recording area by clicking the three stacked lines available in the software portal.
Summing Up
Screen recording is an important activity essential for all PC users. However, expert guidance is needed for choosing and using suitable methods for capturing your screen actions. To solve this issue, we have briefed all you need to know about screen recording choices accessible to you. System utility, as well as the best screen recording tool for Windows 11, are functional for you to use.
Apart from this, if you want to know about Laptops with 4GB Graphics Card then please visit our Tech category