Imagine stepping into your shower only to be greeted by annoying leaks that dampen your entire bathroom floor.
The dripping water not only wastes precious resources but also fosters the perfect breeding ground for mould and mildew, creating an unhealthy and unsightly environment.
Frequent repairs and endless frustration become the norm, taking away the joy and comfort of a relaxing shower experience.
In addition, mould and mildew pose lots of health risks.
But fear not, for the ultimate solution is at hand- silicone sealants for showers.
They ensure a mould-free and watertight enclosure for your shower glass.
Silicone sealants for shower glass offer a host of advantages that address the problem with unmatched effectiveness.
Here are the 3 major types of shower sealants that you should go for.
- Anti-Mould Silicone Sealant for Shower Glass:
One of the primary concerns in a bathroom environment is the growth of mould and mildew.
Ordinary sealants can become a breeding ground for these unsightly and unhealthy intruders.
However, anti-mould silicone sealants contain fungicides that actively inhibit mould growth, keeping your shower glass pristine and hygienic.
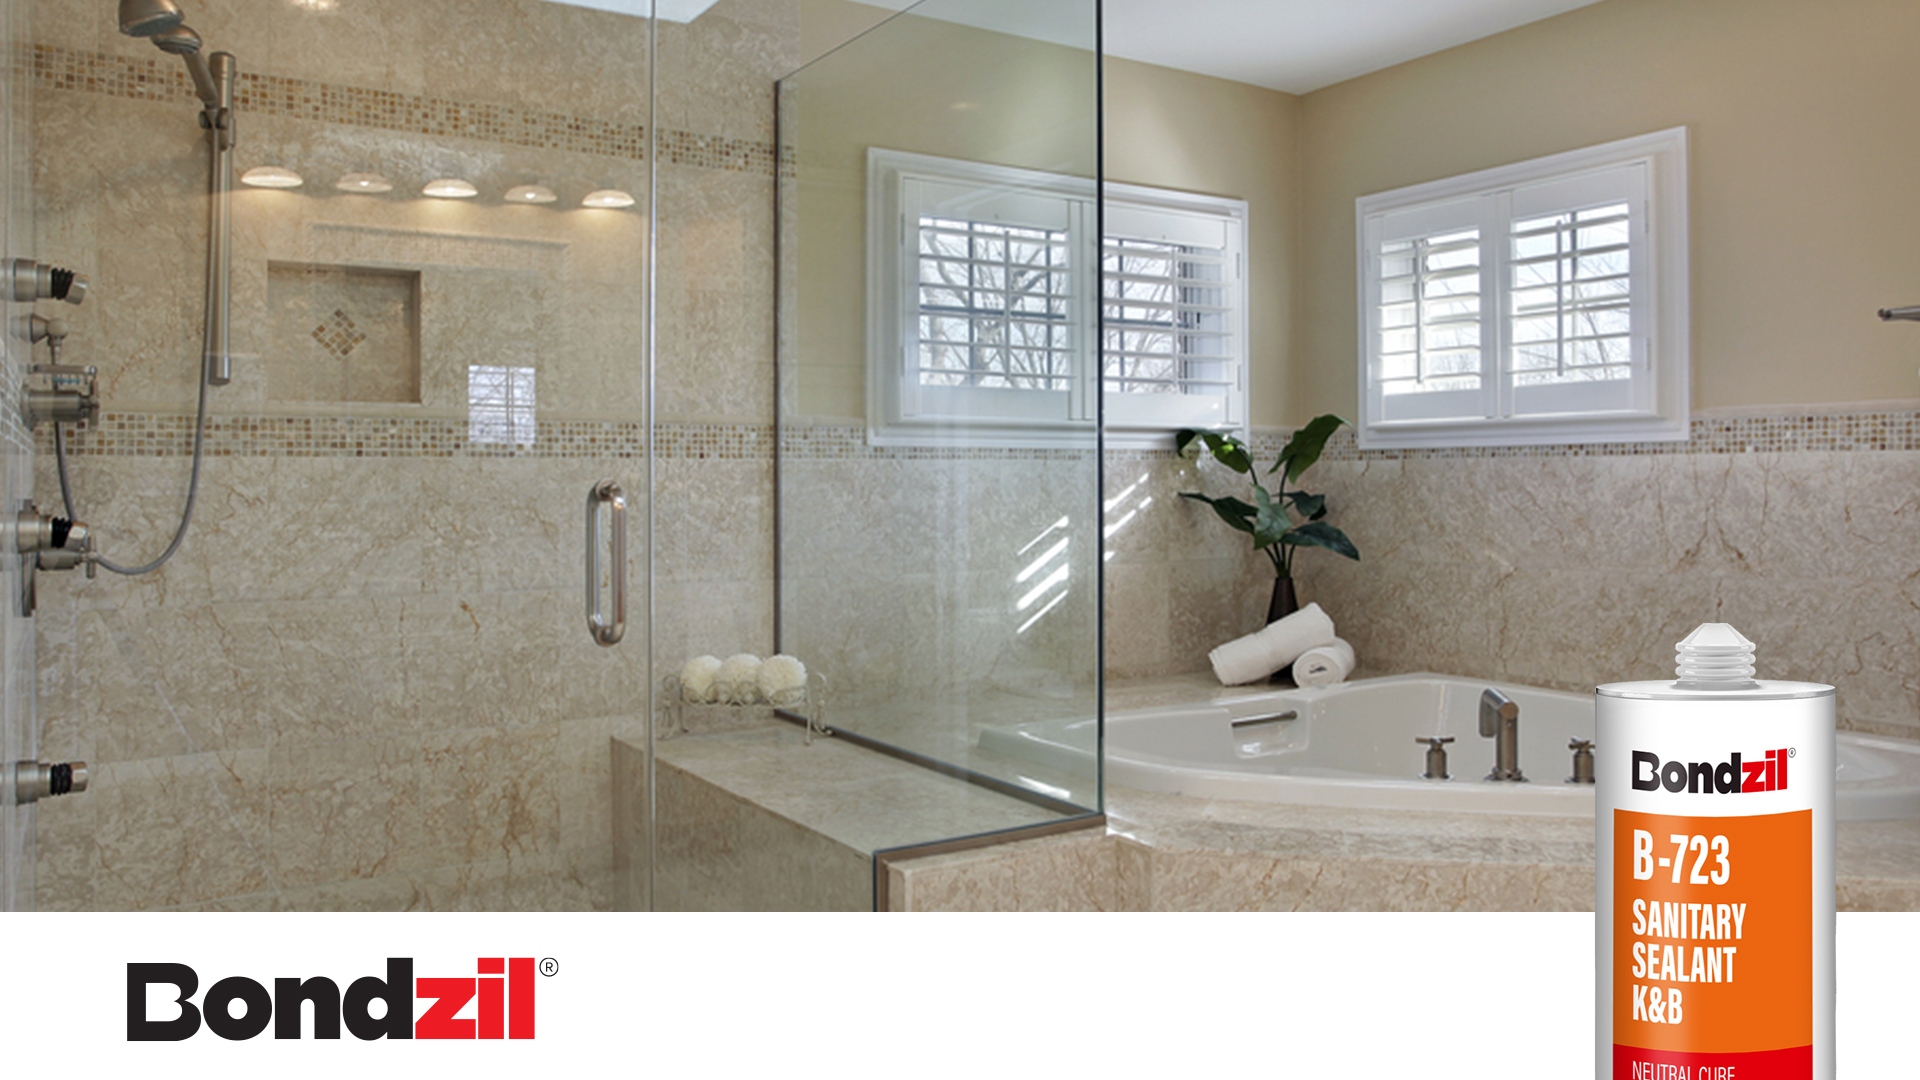
- Rapid Cure Sanitary-ware Silicone Sealant:
Time is precious, and waiting for sealants to dry can be frustrating.
That’s where rapid-cure shower silicone sealants steal the spotlight by saving you time.
These rapid cure silicones are designed to set quickly, allowing you to use your shower sooner, eliminating lengthy downtimes.
This rapid curing quality makes them perfect for busy households or those needing a quick shower glass repair.
- Clear Bathroom Silicone Sealant:
Aesthetics matter, and you wouldn’t want an unattractive bead of sealant spoiling the beauty of your shower glass.
Clear bathroom silicone sealant offers a practical and aesthetic solution for preserving the beauty of your shower glass.
Unlike regular sealants that may leave unsightly bead marks, clear silicone seamlessly blends with the glass and grout lines, creating a sleek and modern finish that enhances your bathroom’s overall look.
Now that you know what the best silicone sealants for shower glass are, let’s look at how you can use them to prevent mould growth.
5 easy steps to replace bathroom silicone sealant:
Step 1: Prepare the Area
First things first, provide a clean area for your silicone replacement.
Thoroughly clean the surfaces around the shower glass, removing any old sealant, grime, or mould.
Dry the area completely to allow the new silicone to adhere effectively.
Remember, a squeaky-clean surface sets the foundation for a successful silicone sealant replacement.
Step 2: Mask the Edges
Set sharp and clean lines for your new silicone sealant by masking the edges of the shower glass.
Apply the masking tape carefully along the edges, preventing excess sanitary-ware sealant from spreading beyond the designated area.
This simple yet assertive step ensures a professional-looking finish with no messy residue.
Step 3: Apply the Silicone Sealant
Now comes the moment to wield the caulk gun with precision.
Load it up with your chosen silicone sealant for the shower glass, making sure to cut the nozzle at a 45-degree angle.
By applying a continuous and even bead of silicone along the edges of the shower glass, a consistent seal is ensured, preventing any future leaks and ensuring a watertight enclosure.
Step 4: Smooth It Out
Time to put the finishing touch on your silicone replacement.
With a silicone smoothing tool or your gloved finger, you must carefully smooth the freshly applied sealant.
By doing this you’ll ensure a neat and professional finish, leaving no room for unsightly bumps or gaps. Your shower glass will look as good as new.
Step 5: Allow Proper Curing
Patience is of the essence in your task to replace the bathroom silicone sealant successfully. Allow the sealant to cure fully as per the silicone sealant manufacturer’s instructions.
Ensure that the silicone sets firmly, creating a robust and long-lasting bond with the shower glass.
Wait for the recommended curing time before moving forward.
Once the silicone sealant has fully cured, the moment of triumph is at hand. With precise movement, gently remove the masking tape to unveil your flawlessly revamped shower glass.
Experience the satisfaction of a job well done as you step into your spotless, leak-free, and aesthetically pleasing shower space.
By diligently following these simple steps, you can seamlessly apply the silicone sealant to your shower.
For more information on silicone sealants for shower glass, contact our experts.