
There are many items you can get with a facial presentation. Whether it’s your face, a cartoon depiction, or the perfect emoji for the moment, you can say a lot with a face! A wink is one of the most versatile expressions, as it can express feelings ranging from agreeing to flirt! Because it’s so helpful, it can be great to learn how to draw a winking face.
By the back of this manual, you should be capable of doing only that! If you are looking for some cute drawings, drawing for kids, cartoons drawing, animals drawing and many more, then you are at the right place.
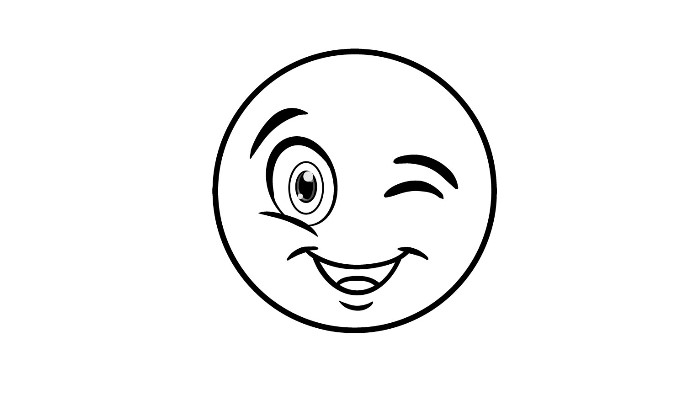
Drawing Wink Emoji
Step 1:
This first step of our guide on how to draw a winking face should be pretty easy for you! We will start with the face’s outline, forming a perfect circle. Drawing a perfect freehand circle is nearly impossible, but there are a few tools you can use to make the job easier. If you want to try drawing the circle neatly freehand, you can come very close to making a perfect one!
Otherwise, your finest bet is to employ a picture compass. This simple yet effective tool lets you quickly draw a perfect circle in seconds. If you don’t have a drawing compass, you can also trace around any flat, round object you have on hand. If all else fails, you can print this guide page and use it to draw or trace by placing your page on it. However you complete this step, you’re ready for the next one!
Step 2:
It wouldn’t be a wink without some eyes, so we’ll draw those in this drawing your wink step. For the left eye, mark a little curved oval. Then pull a blunt curved streak at the ground. The right eye will be the blinking titular eye, and it will be easier to draw than the first one! Draw a thick curved line for the eye, then add another at the top for the eyebrow.
Step 3:
We have another step that should be pretty easy for you in this step of our guide on how to draw a winking face! The central part of this step will be to draw the open mouth. It will be composed quite simply, and you will need to draw a curved line with more vertical lines in the corners. Then remove another curved line underneath to display that the mug is empty. Finally, use another thick line above the left eye for the other eyebrow.
Step 4:
This flashing face design already looks great! In this fourth part, we resolve count points about the learner of the left eye. To accomplish this, pull an oval inside the look. Then add another oval inside this one. It may seem a bit simple now, but we’ll add some details in the next step.
Step 5:
We’ll be adding color to this guide on drawing a winking face soon, but first, we have a few final details to add in this step. As we mentioned in the previous step, we will fill in some details for the pupil of the left eye. Next, we’ll use two simple lines to complete the flashing face’s mouth. The first will go inside the mouth to show the tongue in the mouth. Another curved line can go under the mouth for some chin details.
That will suffice for the details of this guide, but it’s also your chance to add details and items before moving on! For ideas, you can draw creative backgrounds or face cartoon bodies. You can even surround that flashing face with some of your other favorite emoji faces. What ideas can you come up with to complete this winking face drawing?
Step 6:
It brings you to the final step of your flashing face drawing! You can have fun adding unique colors to your image in this part! We chose yellow as the primary color palette for this design, but you can use any color you want to finish this image.
If you want the color scheme to be friendly and bright, you can use colored pens and markers to achieve this look. Any art medium and tool you use will be excellent, but be sure to have fun being creative while you finish this awesome drawing!
4 Better Ways to Create Your Winky Face Drawing Unique
Put a smile on your face as we show you how to make your flashing face sketch look even better! You could make your face drawing. More unique by becoming a fully-fledged cartoon character! You can add it to a detailed body, but you can also go for something simpler. Another way to do this could be to draw cartoon limbs that stick out from the outline of the face. It would be an easy way to make this drawing even more personalized while creating fun poses!
This drawing of a winking face shows us one of the many emojis people use daily. There are many more to choose from, and you can add them here to make them stand out more! It would be easy to do as you can follow the guide steps and change the facial expressions. If you have a mobile phone, you can use it to see the different emojis offered to you to inspire you.
What different famous emoji looks would you enjoy using? This blinking face sketch has been colored yellow, probably the most common emoji color, but many others exist. You might have fun customizing the colors of this flashing face! Instead, you can use emoji colors on various devices or unique colors. Then, play with your favorite art tools and mediums!
Finally, you can make this design even better by adding a background. It could be a suitable background, and it would open up all sorts of possibilities. If you were making a blinking face a character, drawing this kind of background would be incredibly cool! Otherwise, you can opt for a more stylized background. It can be simple solid colors or incorporate different patterns and shapes behind the face. These are just a few ideas, but you can get creative as you put the finishing touches.
Your Winky Face drawing is complete!
With these final details and colors added, you have reached the end of this guide on drawing a winking face! Although this drawing looks simple, there are still a few tricky elements, so we hope this guide will make it easy and fun for you. Breaking down a drawing into smaller, more manageable steps is the best way to make a new drawing challenge much more manageable.
Now that you have completed this guide, you can also further customize this drawing by adding your details and elements. We’ve mentioned a few ideas, like drawing a background or adding more faces, but this is your chance to get creative and have fun! Once you’ve completed this guide, we have plenty more for you on our website. Be sure to check back often as we upload new guides for you to enjoy all the time.
Also Read: How Custom Packaging Can Take You At Height Of Success?